How to Construct a Compost Pile
Composting is a cost-effective way to reduce your carbon footprint and put organic waste to work. Your homemade compost can then be used to feed household and garden plants.

As the earth’s population continues to rise, waste management has become a pressing concern. The United States ranks number one in trash production, at 1,609 pounds of trash per person per year. This means that 5% of the world’s population is generating 40% of its waste. And every year, the average American throws out 1,200 pounds of organic material that ends up in a landfill.
Because landfills are being stretched to capacity, composting, which was once only popular among the gardening community, is gaining public interest. Composting is the process of recycling organic matter to become a nutrient-rich fertilizer for household and garden plants. When organic materials decompose in landfills, they release harmful greenhouse gasses that accelerate climate change. Composting, however, results in far fewer emissions.
Your compost, once ready, will enrich your garden soils, reduce the need for chemical fertilizers and lower your carbon footprint.
Project Time Estimation
An hour to pick a spot, gather materials and start the pile. A few minutes every week or few weeks to turn the compost and add material to the pile.
Materials
- Carbon-rich “brown” materials
- Nitrogen-rich “green” materials
- Garden soil
- Shovel or garden fork
- Optional: chicken wire, fencing or bins.
Process Overview
- Pick a location
- Gather composting materials
- Layer your compost materials
- Maintain your compost pile
1. Pick your location
First you have to pick where you want to start your compost pile. You will need an open area with at least 3 square feet of space of bare soil so worms and other organisms can aerate the compost. You will want to pick a dry, shady spot that is close to a water source if possible.
A compost pile can stay open in your yard, but chicken wire or fencing can be used to keep critters out and keep the pile more tidy. There are also composting bins which can be homemade or bought to help control moisture and tidiness. A compost bin can be open which will allow for ventilation and aeration or enclosed with a lid to eliminate the sight and smell of a compost pile.
Covering a compost pile with a cover or tarp is optional but it can help keep moisture in by preventing evaporation and protect the pile from becoming too wet with heavy rainfall.
If a compost pile doesn’t sound like something you want in your yard or you don’t have yard space available, look into giving your compost materials to a neighbor or community group that composts, or see if your local grocery stores, restaurants or farmers markets have programs that will take food scraps. Some municipalities will even pick up food scraps from your home!
2. Gather composting materials
Next, you need to gather materials that will add nitrogen and carbon. “Brown” carbon-rich materials will feed the organisms that break down the scraps, and "green" nitrogen-rich materials are crucial for building the cell structure of the new soil. Brown materials include dry leaves, straw, sawdust, dead flowers, egg shells, coffee filters and grounds, and shredded newspaper. “Green” materials include grass clippings, plant-based kitchen scraps or barnyard animal manure.
You will want enough of these materials to create a few layers when starting your compost pile. Then, you can add materials as you collect them. When adding materials to your pile, you want ⅔ brown materials which tend to be dry and ⅓ green materials which are wet. To have a healthy compost pile, avoid adding these materials which can smell and attract pests:
- Meat and bones
- Dairy products
- Fats and oils
- Pet waste
- Pressure-treated wood
- Leaves or twigs from black walnut trees
- Weeds that have gone to seed or which spread by root growth
- Diseased or insect-infested plants
- Grass or weeds that have been treated with chemical pesticides

3. Layer your compost materials
At your desired location in your yard, start with a layer of twigs or straw to make sure there is aeration and drainage. Then, spread a several-inch thick layer of brown materials and add a several-inch thick layer of green material overtop. After the green material, add a thin layer of soil and then repeat by adding layers of brown and green materials. Add water until the layers are as moist as a wrung-out sponge.
Once you run out of materials to layer, making sure to end with a layer of brown materials, the hard work is done. The optimal height for a pile is 3-5 feet and you can add materials whenever you have them, following the ratio of green to brown materials.
4. Maintain your compost pile
Aerating your compost is important to ensure there is enough oxygen to properly decompose. When you start your compost, you will want to turn it every few days. While there is no exact science to how often you need to turn your compost pile, turning your compost every day is too often and will allow too much heat to dissipate.
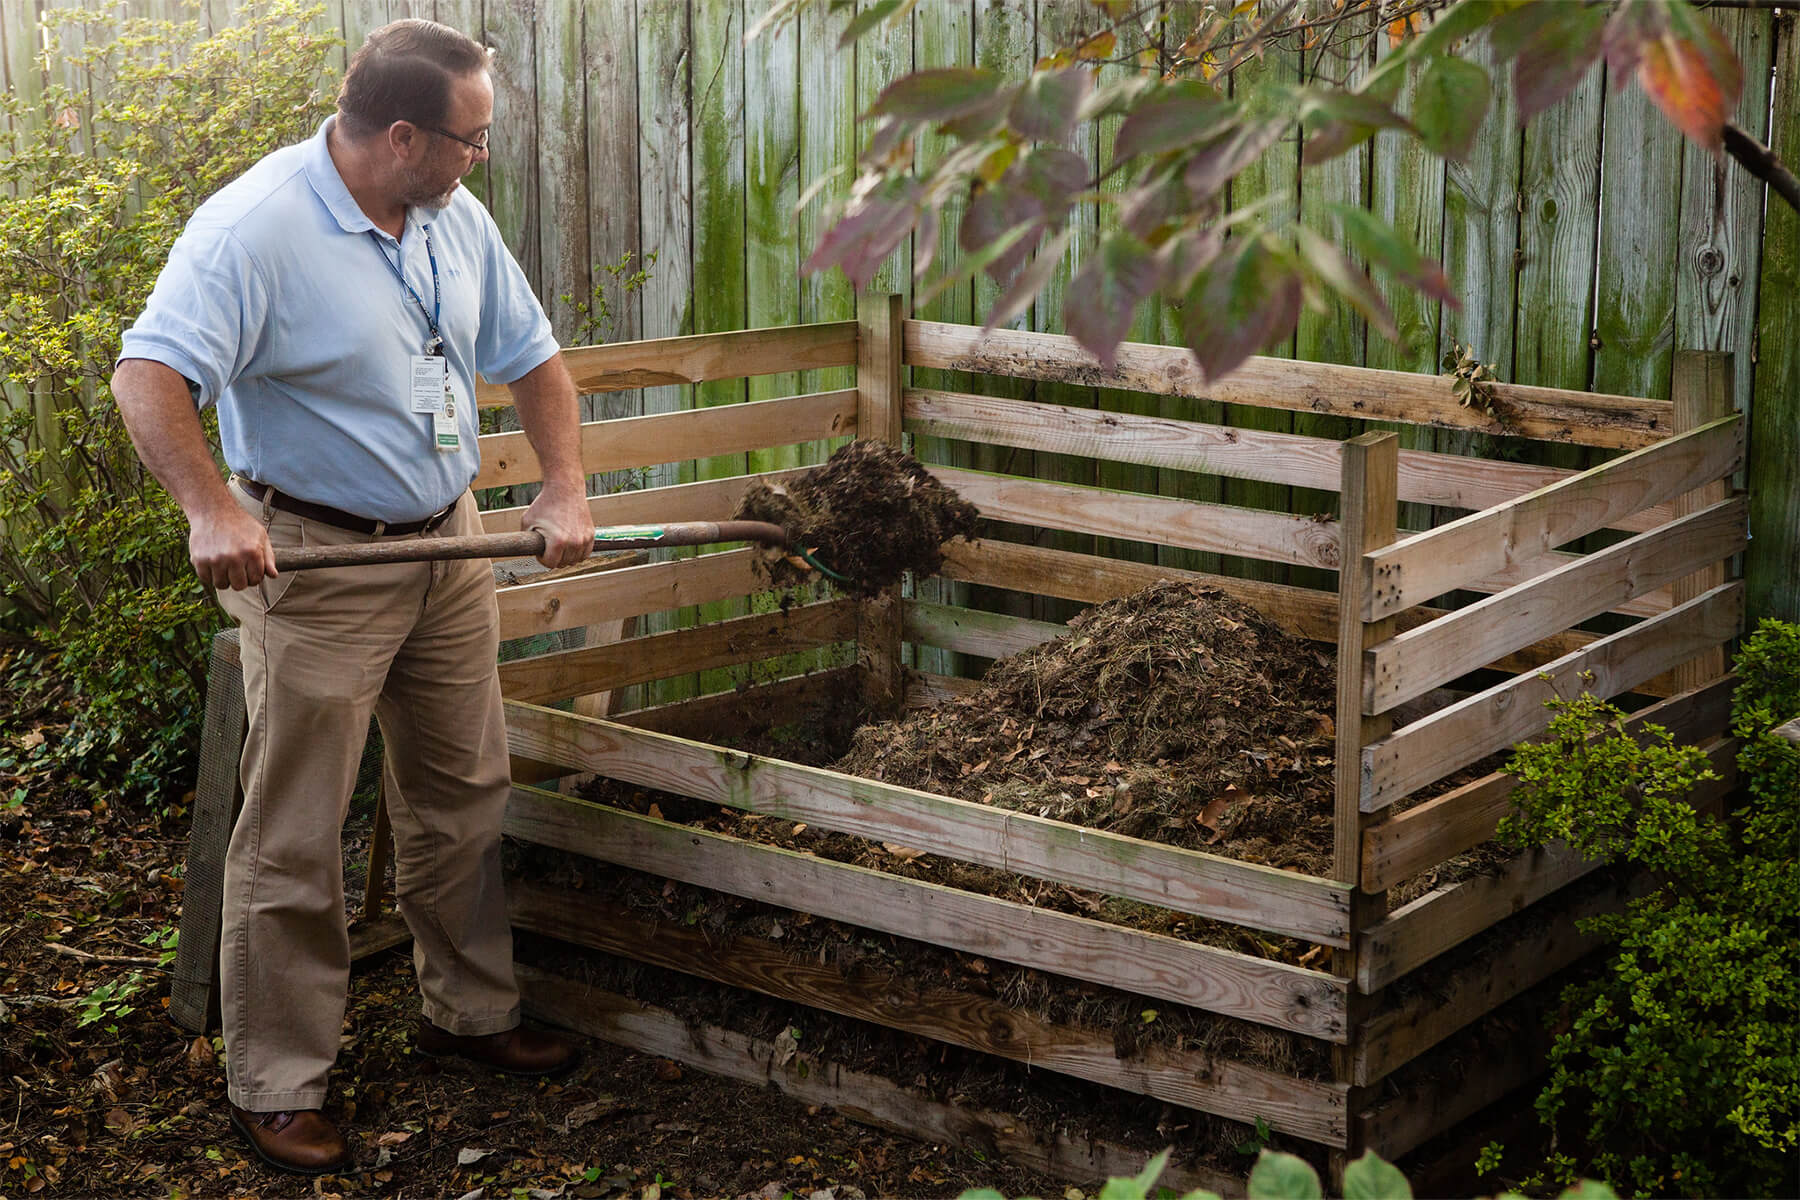
You should turn the compost when adding new materials to incorporate them. Use a shovel or a garden fork to turn the pile, making sure to move the material from the center of the pile to the outside and vice versa. After the first few weeks you can turn the compost less, about every 7 to ten days.
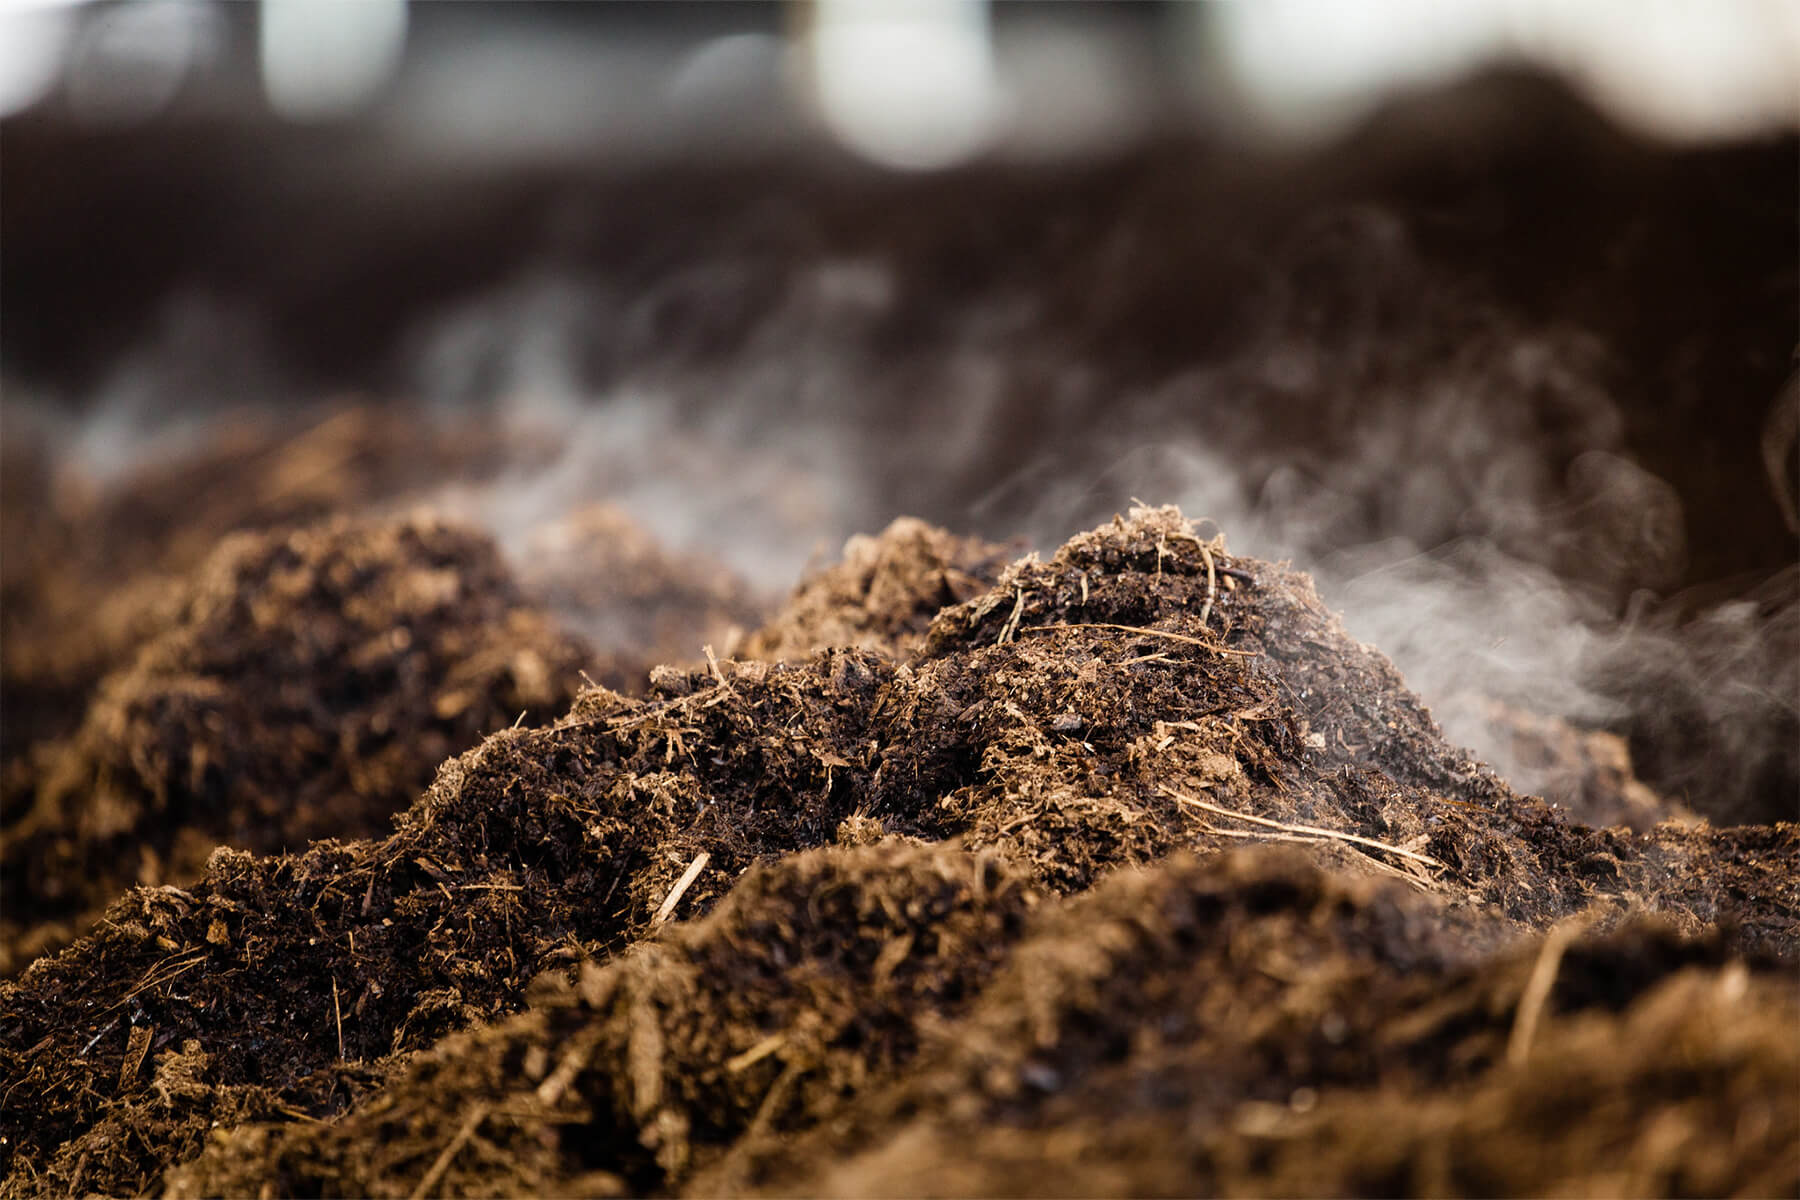
Watch for steam as you turn the pile. This is a sign that the pile is heating up from decomposition. The center of your pile should feel warm and you want to keep an internal temperature of 130˚F to 150˚F.

If your compost smells bad that means it is probably not decomposing. This can mean your compost is too wet or you need to adjust the ratio of green materials and brown materials.
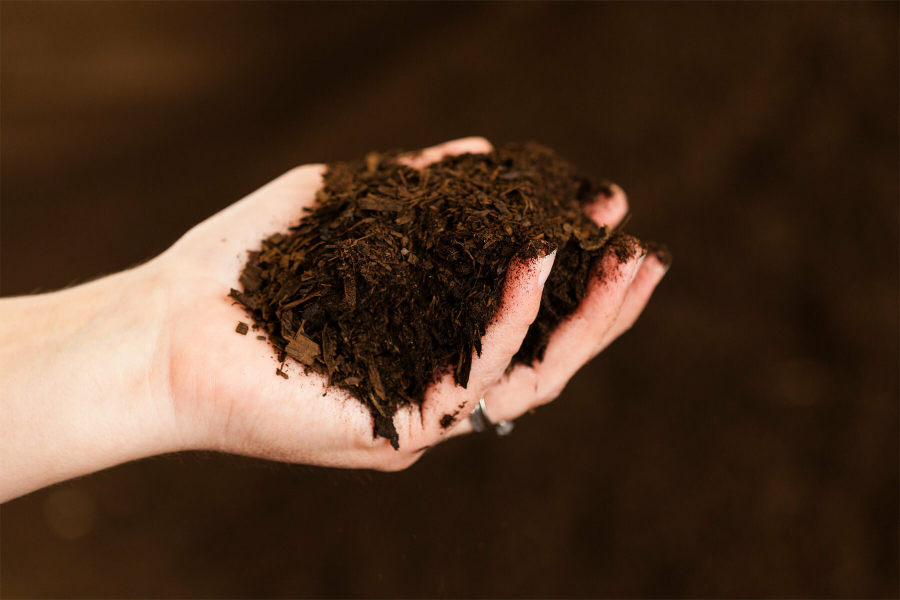
When you can no longer recognize the green and brown materials and the compost is black, light and has an earthy smell, you know it is ready to use. In hot months, the process of decomposition can take as little as 1 to 2 months and in colder months the compost can take up to 6 months to break down and be ready to use. If properly managed, your compost pile will not attract pests or rodents and shouldn’t have a strong odor.
Composting takes time and experience, and results can vary each time you try it. The more times you compost the better at it you will be!
